The first background is the Retiform Technique which I found on Splitcoast Stampers with a great tutorial . This is a great technique using post-it notes and cardstock scraps to create the masks for the sponging and stamping.
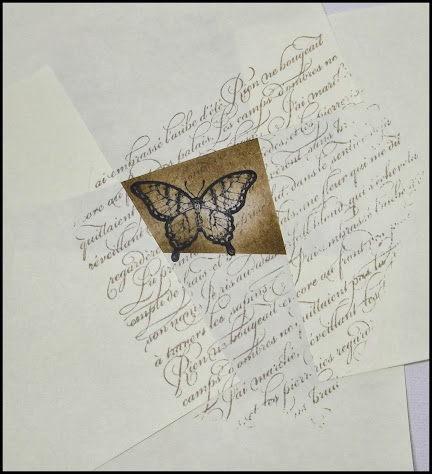
I started with a piece of Naturals White cardstock and using a scrap of Naturals White to create the mask, I sponged on Baked Brown Sugar ink for my first line. There is no correct pattern to this, just create your gridlines where you want then to go. Below are a pictures of the first steps, sponging on Baked Brown Sugar to create the divisions where you will be stamping. I sponged so that the ink is on the inside of the lines, however you can sponge so that ink is on the outside of the lines. It just depends upon what effect you want to create, experiment to see which method you like best, just be consistent otherwise the technique will not work.


The next step is to sponge a light base colour over the entire piece. I have used Crumb Cake, this is done randomly, leaving some light patches (just make sure that you have inked over the entire piece so that no Naturals White is showing through).


Once the background piece is finished you can now make your card. I have used a Basic Black card base, along with some Victoria Crochet Trim and the Scallop Oval and Large Oval punches for the sentiment.


The card below is one that I cased from Gina K designs, I just loved the colours (I used Always Artichoke, Crumb Cake and Early Espresso on Naturals White and Early Espresso cardstock.) I used the same gridlines and design for my card above.


cool technique!!!!!
ReplyDeleteLoved your card!!
ReplyDelete